
If you’re a kayak enthusiast, you likely understand the challenges of launching and storing your kayak. DockCraft’s Docksider Kayak Dock Lift & Storage Rack offers an innovative solution that enhances convenience, safety, and overall enjoyment of your kayaking experience.
Effortless Kayak Launch and Storage
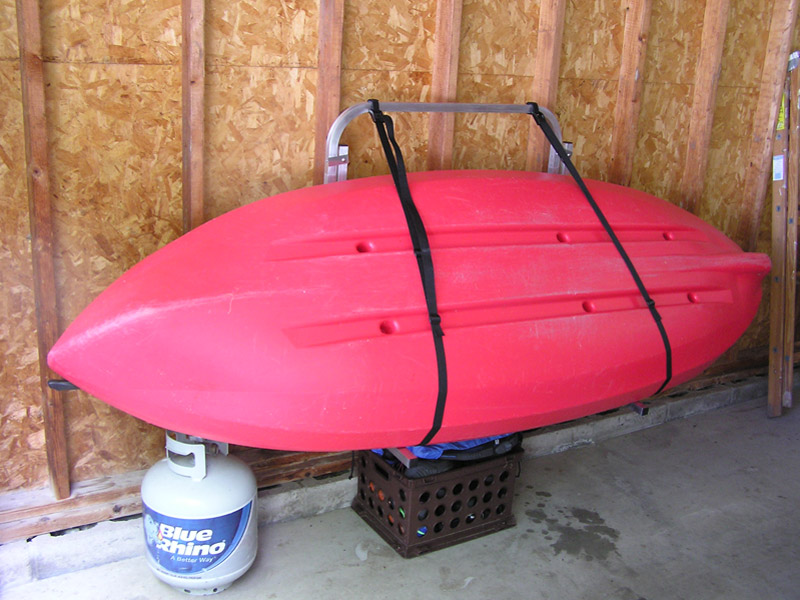
The Docksider Kayak Dock Lift system simplifies the process of launching and storing your kayak. Its unique lift-assist lever arm allows you to lift your kayak directly from the water with minimal effort. Thanks to its patented design, the lifting force required decreases as you raise the kayak, making it feel significantly lighter – a 70-pound kayak can feel much lighter when lowering and lifting out of the water.
Versatile Mounting Options
DockCraft offers both dockside and waterside models to accommodate various dock configurations and water depths. Whether you enter your kayak from the dock or the water, there’s a suitable option for your needs. Additionally, the Docksider accommodates different dock materials, including wood, composite, aluminum, and vinyl, with mounting options like bolt-on, clamp-on, and the mounts are universal, meaning they fit many types of docks! For example – Shore Station, Shore Master, Pier Pleasure, Beach King, Home Made Docks, Floe, Wahoo, Floating Docks, Stationary, and Permanent docks to name a few.. The Docksider is easy to install and maintain.
Space-Saving Design
By mounting to the side of your dock, the Docksider keeps your kayak off the dock surface, freeing up valuable space and reducing clutter. This design not only enhances the aesthetic appeal of your dock but also minimizes the risk of tripping hazards.
Durable and Weather-Resistant
Constructed from rustproof marine-grade aluminum and stainless steel, the Docksider is built to withstand harsh marine environments. Its durability ensures long-term performance, even in saltwater conditions.
Investing in a DockCraft Kayak Dock Lift & Storage Rack can significantly enhance your kayaking experience by simplifying launch and storage processes, saving dock space, and ensuring durability. With its user-friendly design and robust construction, the Docksider is a valuable addition for any kayak enthusiast.