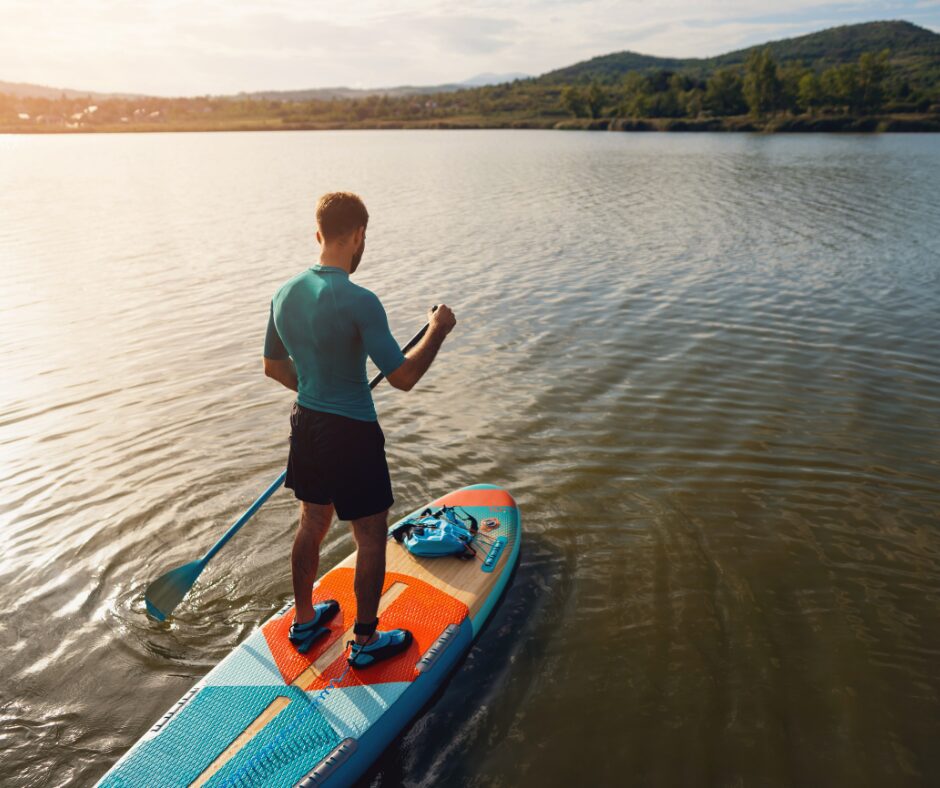
Lake kayaking offers a peaceful escape and a fun way to explore nature at your own pace. But with so many kayak types, materials, and features on the market, finding the right one for lake use can feel overwhelming. Here’s a guide to help you choose the best kayak for calm, flatwater adventures.
Selecting the Kayak Type: Sit-on-Top vs. Sit-Inside
The first choice most kayakers must make is between a sit-on-top and a sit-inside kayak.
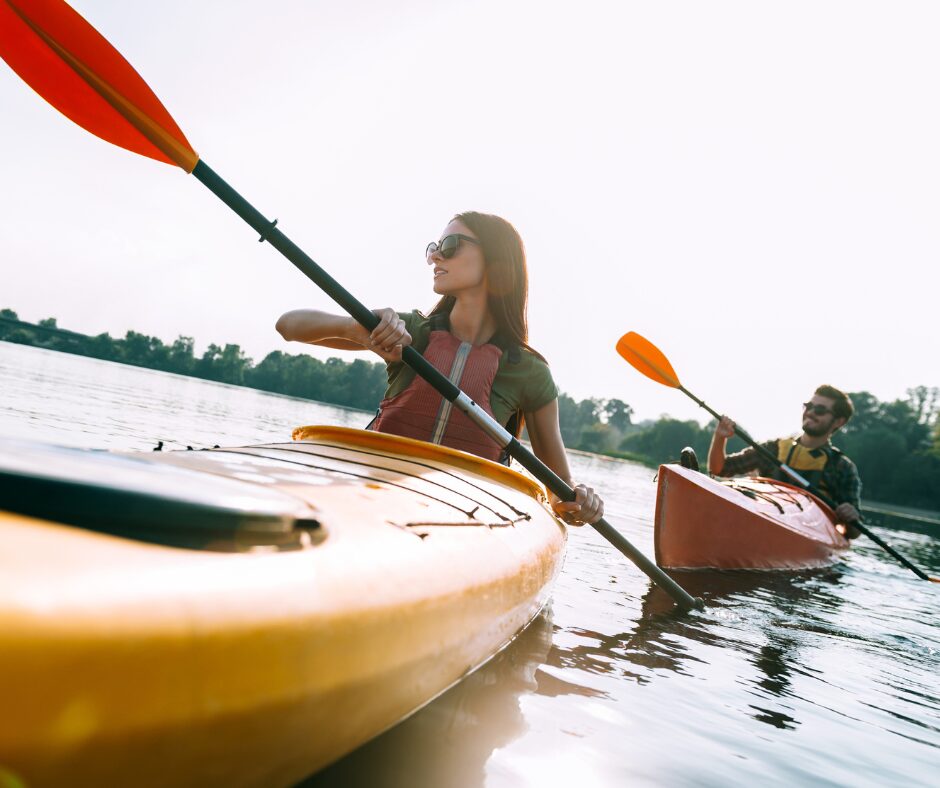
Sit-on-Top Kayaks
These kayaks are open, easy to get on and off, and great for warm-weather paddling. They’re ideal for beginners or those who like to hop in and out for a swim. They also drain water easily, making them low-maintenance.
Sit-Inside Kayaks
These kayaks feature an enclosed cockpit that keeps your lower body protected from wind and splash. Sit-inside models are better for cooler climates or longer excursions where comfort and speed matter.
Which Kayak is Best for Lakes?
Either can work! If you paddle in warm weather and like a casual experience, a sit-on-top is perfect. If you prefer covering more distance or paddling in shoulder seasons, go with a sit-inside kayak.
Learn more about the differences between sit-on-top vs sit-inside kayaks.
Consider Kayak Stability
In calm lake conditions, primary stability (how steady the kayak feels when you first get in) is key – you want a boat that feels solid, not tippy.
For kayak stability, look for:
- Wider hulls (28–34″) for maximum stability
- Flat or slightly rounded bottoms for predictable handling
- A skeg or rudder if you’ll paddle on windy days – these help keep your kayak moving straight across open water
A recreational kayak between 10 and 12 feet long strikes the best balance between tracking (straight-line performance) and maneuverability on lakes.
Kayak Weight and Portability Matter
If you’ll be loading and unloading solo, weight matters just as much as design.
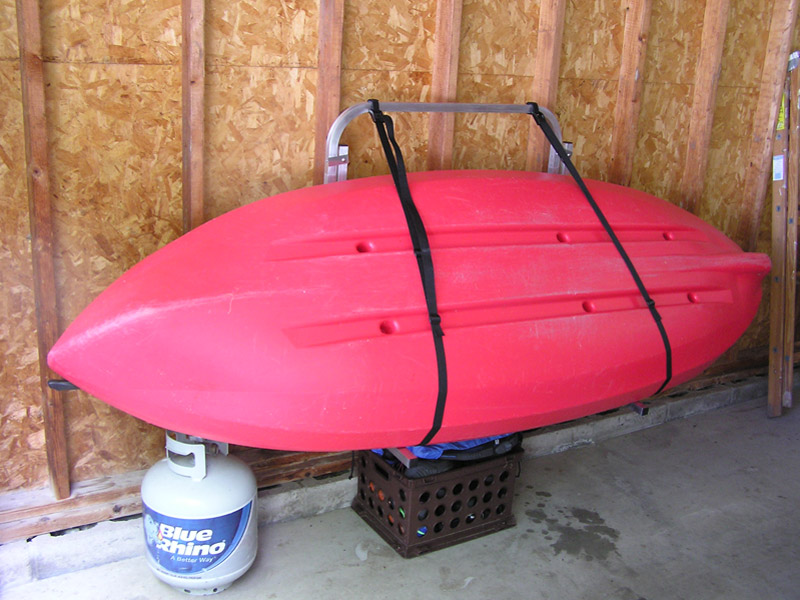
Plastic (polyethylene) kayaks are the most durable but heavier.
Inflatable or foldable kayaks are gaining popularity for their convenience – they fit in a trunk and can be inflated in minutes. The downside is that they are more susceptible to breaking.
Consider Kayak Comfort
You might spend hours on the water, and comfort makes a huge difference. Look for:
- Adjustable padded seats
- Footrests or braces
- Adequate legroom
- Easy access to gear storage
A kayak that fits your body size will make your time on the lake far more enjoyable and efficient.
Kayak Storage and Extras
For day trips, you’ll need room for sunscreen, snacks, a dry bag, and maybe a camera or fishing gear. Look for:
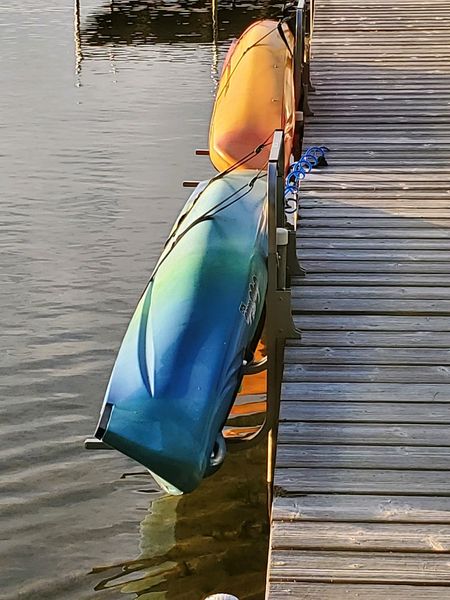
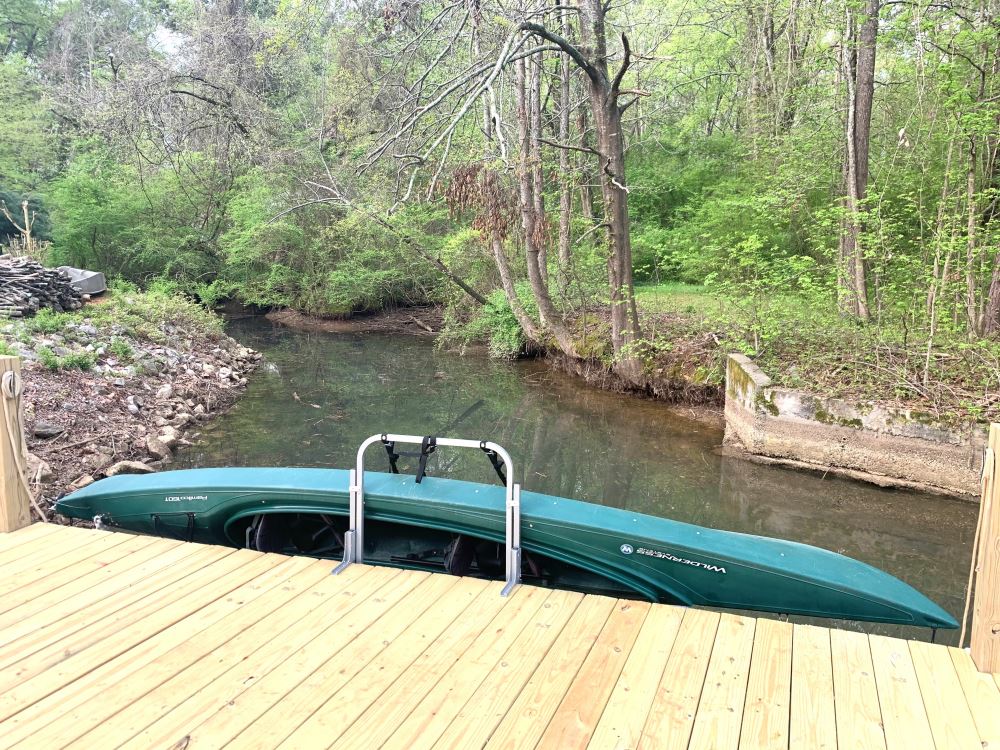
A Kayak Dock Lift for easy access
Sealed storage hatches to keep essentials dry
Cup holders and accessory mounts if you plan to fish or photograph
See a list of other kayaking essentials for when you’re on the water.
Kayak Safety and Accessories
Don’t forget the essentials:
- A properly fitted PFD (life jacket) designed for paddling
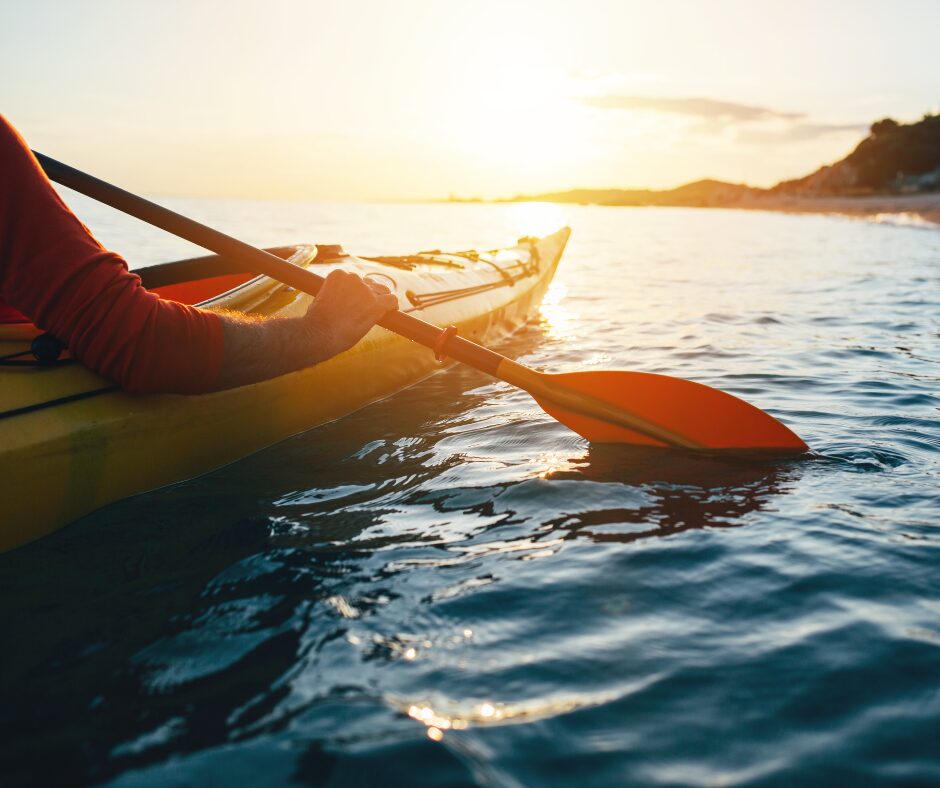
- A lightweight paddle suited to your height and kayak width – see more about paddling for optimal performance
- Dry bags for valuables
- Sun protection gear like hats, rash guards, and sunglasses
Optional accessories like an anchor or waterproof phone mount can make your kayaking experience more convenient.
Test the Kayak Before You Buy
If possible, rent or demo a few kayak models before purchasing. Many outfitters and outdoor stores offer test days where you can compare how different kayaks feel on the water.
Choosing the best kayak for lake use comes down to how and where you like to paddle. For casual, sunny-day kayak adventures, a stable sit-on-top is perfect. For fitness paddling or longer tours, a sit-inside kayak with good tracking will help you glide across open water efficiently.
Whatever your style, the right kayak can turn your lake outing into a peaceful escape.